Linking Channels
This bridge allows linking together pairs of Matrix rooms and Slack channels, relaying messages said by people in one side into the other. To create a link, first the individual Matrix room and Slack channel need to be created, and then a command needs to be issued in the administration console room to add the link to the bridge’s database.
RTM API
The Real Time Messaging (RTM) API is the newer and recommended way to use the bridge.
- Add a custom app to your Slack team/workspace by visiting
https://api.slack.com/apps?new_classic_app=1
and clicking on
Create New App.
-
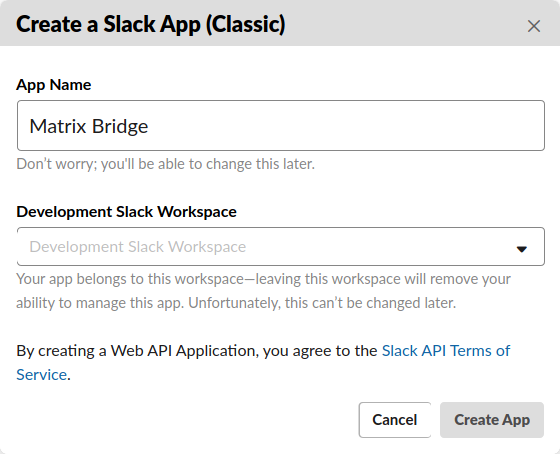
Name the app & select the team/workspace this app will belong to.
-
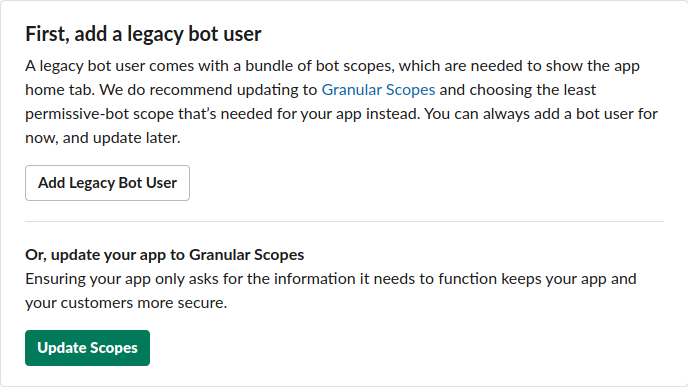
Click on
App Homein the sidebar andAdd Legacy Bot User. We will use this account to bridge the the rooms.
-
Click on
Install AppandInstall App to Workspace. Note the access tokens shown. You will need theBot User OAuth Access Tokenand if you want to bridge files, theOAuth Access Tokenwhenever you link a room. -
For each channel you would like to bridge, perform the following steps:
-
Create a Matrix room in the usual manner for your client. Take a note of its Matrix room ID - it will look something like
!aBcDeF:example.com. -
Invite the Matrix bot user to the Matrix channel you would like to bridge.
/invite @Slackbot:my.server.hereThis is the same command used to invite the bot to the Admin Control Room. Note that you may have to wait for the Slackbot to accept the invitation.
-
Invite the Slack bot user to the Slack channel you would like to bridge.
/invite @bot-user-nameYou will also need to determine the “channel ID” that Slack uses to identify the channel. Right-click your channel name in Slack and select “Copy Link”. The channel id is the last argument in the url (
https://XXX.Slack.com/messages/<channel id>/) -
Issue a
linkcommand in the administration control room with these collected values as arguments:link --channel_id CHANNELID --room !the-matrix:room.id --slack_bot_token xoxb-xxxxxxxxxx-xxxxxxxxxxxxxxxxxxxx
Webhooks
Linking rooms with webhooks is not the recommended way for most situations, although it can be useful for single channels or if you are using Mattermost.
-
Create a Matrix room in the usual manner for your client. Take a note of its Matrix room ID - it will look something like
!aBcDeF:example.com. -
Create a Slack channel in the usual manner.
-
Add an “Incoming WebHooks” integration to the Slack channel and take a note of its “Webhook URL” from the integration settings in Slack - it will look something like
https://hooks.Slack.com/services/ABC/DEF/123. -
Add an “Outgoing WebHooks” integration to the Slack channel and take a note of its
tokenfield. Add a URL to this web hook pointing back at the application service port you configured during setup.
You will also need to determine the “channel ID” that Slack uses to identify
the channel. Unfortunately, it is not easily obtained from the Slack UI. The
easiest way to do this is to send a message from Slack to the bridge; the
bridge will log the channel ID as part of the unrecognised message output.
You can then take note of the channel_id field.
-
Issue a
linkcommand in the administration control room with these collected values as arguments:link --channel_id CHANNELID --room !the-matrix:room.id --webhook_url https://hooks.Slack.com/services/ABC/DEF/123
Unlink Channels
If you ever want to unlink a channel, you can issue an unlink command:
unlink --room matrix_room_id
Mattermost
Because Mattermost’s webhook APIs are Slack-compatible, the Matrix <–> Slack bridge also works with it. The webhook configuration is very similar to Slack’s and is documented on Mattermost’s website.